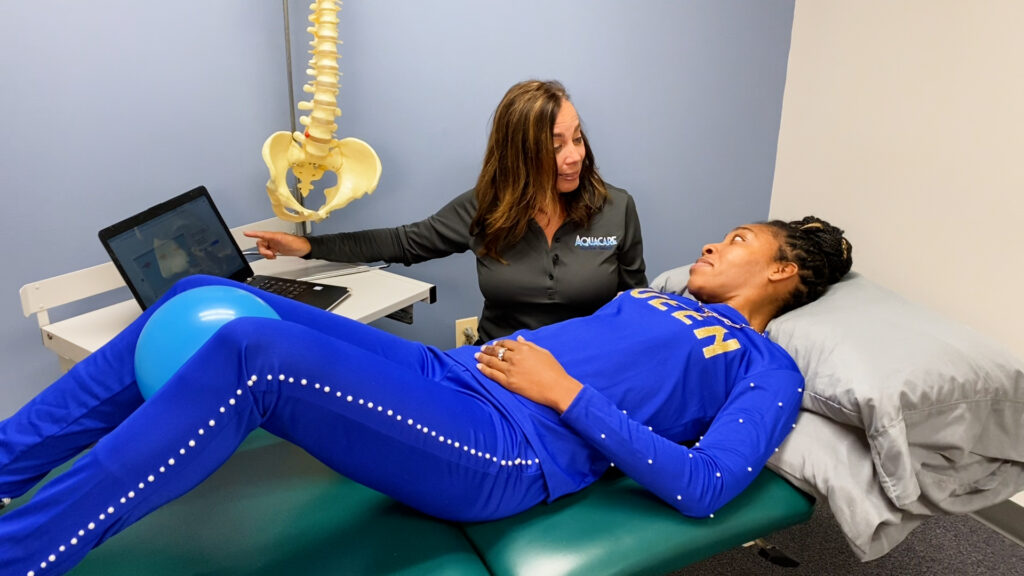
Post- Cesarean Rehabilitation

C-sections are major abdominal surgery. What the surgery entails is extensive and requires an incision that spans through 6 layers of your body’s tissues. Organs were pushed around. A baby gets removed. In most cases, the only muscle that is cut is the uterus.
Once the baby is out, multiple layers are stitched up. Meaning multiple layers of tissues in need of healing and scarring to take place. It is not uncommon that around your scar you may feel a little restricted since the scar tissue is tough and adhesion can form between the layers.
How long does it take to recover from a C-section?
The C-section recovery timeline is usually 6-12 weeks. However…..everyone’s healing journey is different! We also know that scar tissue continues to remodel and strengthen for 6 months to a year or more.
The 6-12 week mark is where we start seeing patients progressing feeling good, but know that there is still room for continued healing over the next year.
The first 6 weeks will be the most intense with regard to discomfort and recovery.
REMEMBER, everyone’s healing is different and it is OKAY at your 6-week check-up that you need more time to heal. We highly encourage consultation and evaluation with Pelvic PT after the go-ahead is given by your doctor that healing looks good.
It can be harmful to suggest that all women can be fully cleared to do any activity they want to do at just 6 weeks!
***Get yourself a squatty potty: to avoid straining and increasing abdominal pressure on healing tissue during bowel movements.
Week 0-4:
- 0-2 weeks: Rest, recover, and ask for help! Have others do the lifting, cooking, laundry, feeding, diaper changes, etc.
- Getting out of bed or couch: lie on your side facing the edge, while you’re laying as close to the edge as possible, place both of your hands in front of your chest and push yourself up at a pace
- you’re comfortable with
- Hug a pillow when coughing and sneezing.
- When sitting and feeding baby use a lumbar roll to relieve pain and pressure on the hips and spine by promoting proper posture. It helps support the natural curvature of the lower back to ensure correct spinal alignment to reduce muscle fatigue and tension.
- Focus on Diaphragmatic breathing (see handout).
- Week 2: You can start walking a bit as you feel comfortable, start 5 minutes here and there, as long as it doesn’t increase pain, pressure, or induce swelling or create any other obvious symp-tom. Gradually increase and go a little farther or add a few minutes the next time if asympto-matic. As time is added or increasing distance, taking two short walks per day might feel better than a single, longer walk.
As you increase more activity be aware of the below criteria. If you do notice any of these symp-toms, check in pelvic floor PT.
- Pain: anywhere, and in particular around your incision, vagina, or in your pelvis.
- Pressure: through your abdomen or pelvic floor.
- Pee: it can happen, it is common, but not normal!
- Peaking: doming, peaking, or coning through the mid-line of your belly.
- Pulling: through your incision site
Week 4
- Gentle Mobility Work:
- Pelvic tilts (see handout).
- Open book (see handout).
- Lower trunk rotations (see handout).
- Diaphragmatic breathing:
- Get into a comfortable position. You may stand, sit or lay down on your back.
- Place one hand on your chest and one hand on your stomach. The hand on your chest should stay still. The hand on your stomach will allow you to feel your stomach rise and fall as you breathe.
- Breathe in through your nose and fill belly, if you can for 3-5 seconds. Allow your stom-ach to rise and fill lungs, making belly big.
- Breathe out through your mouth if you can for 3-5 seconds. Allow your stomach to fall as the air leaves your lungs
- Slouch posture correction (see handout).
- Gentle Kegel work:
- Squeezing the anus as if stopping gas from passing. Your buttocks should stay relaxed as this happens. Tighten your anus and lift inwards to feel an inward squeezing sensation inside and around your anus.
- Tighten and squeeze the entrance to the vagina as if you’re closing it shut and lifting it. Imagine a string drawing your vagina up inside your body as if to resist withdrawing a tampon. Or you are picking up a marble into the vaginal canal
- Tighten the opening where the urine comes out (urethra). If you feel your anus and vagina tightening too, that is good!
- With practice, combine them all!
- Hold kegel for 2 seconds on and 2 seconds off.
- Scar Desensitizing: Once the incision is healed it can still be quite sensitive. You can begin to do come scar-desensitizing. Try brushing fabrics of varying textures (examples: cotton balls/q-tip, a soft cloth, rough towel) along your scar. Make movements going up and down, circular. Also, vary with pressure as tolerated.
- Walking: Gradually increase and go a little farther or add a few minutes the next time if you continue to be asymptomatic. As time is added or increasing distance, taking two short walks per day might feel better than a single, longer walk.
- When lifting baby, exhale!!! Breathing is key!
- Good posture in standing: diaphragm (muscle under rib cage) should be aligned with your pelvic floor — this is a neutral spine. If you drop you’re your hips too much forward or arch your back too much this can increase pain/pressure on the pubic region. So one easy exercise is to stand in front of a mirror and focus on finding that neutral spine.
Week 6/7
- Schedule your consultation and evaluation with Pelvic PT
- After 6 week check-up with OB and your scar is completely healed and you can tolerate sus-tained touch you can start scar massages.
- Scar massage may be somewhat uncomfortable, but should not be painful. Check-in with Doc, PT, or PTA if scar massage is painful.
- 1) Push and pull: Place your fingers either directly on, or just above or below your scar. Gently move your scar left and right and work along the length of your scar. If you find a spot that feels more restricted, hold that spot for a few seconds. You can also do the push & pull going up and down along the length of the scar.
- 2) Circular: Move your fingers in a circular pattern over and around the length of your scar. If you find spots that aren’t moving well, hold for a few seconds until they release.
- 3) Skin rolling: “Pinch” a section of your scar and lift gently roll into between index and thumb. If you find it’s restricted in one direction, hold until it releases. And work along the length of your scar.
- Diaphragmatic breathing (see above).
Gentle Deep Core Engagement:- Take an in inhale. And on the exhale, GENTLY drawing your belly button back. The ab-dominals are drawing gently inwards, but not pulling in hard. Making an ‘Ssssss’ sound as you exhale may help you find the right deep abdominal muscles.
- Imagine there is a string around your hip bones. Draw the string inwards towards your belly button.
- When you are contracting this muscle, you shouldn’t feel any movement of your hips, pel-vis, or spine.
- Continue with gentle kegel work.
- Connect Deep Core and Pelvic for:
- From above: first engage deep core muscles and then add a hold kegel.
- You should be able to continue to breathe throughout this.
- Continue progression of walking.
- Continue mobility work.
- Continue with good posture seated (lumbar roll) and standing.
- When lifting baby, groceries, weights…..you exhale!
Week 7-18:
- Monitoring the scar tissue to make sure it’s on track for proper healing.
- Mobilizing the scar tissue.
- Continue with recovery pelvic floor muscle activation and function.
- Establishing an optimal breathing pattern, especially with activities of daily living.
- Building some baseline strength with simple functional movements.
- Good body mechanics.
- Improving cardiovascular endurance.
- Monitor any diastasis recti…doming, bulging, coning with lifting, getting up from lying or sitting, etc.


